What Should Be Removed From a Crawl Space Before Moisture Repairs Begin?
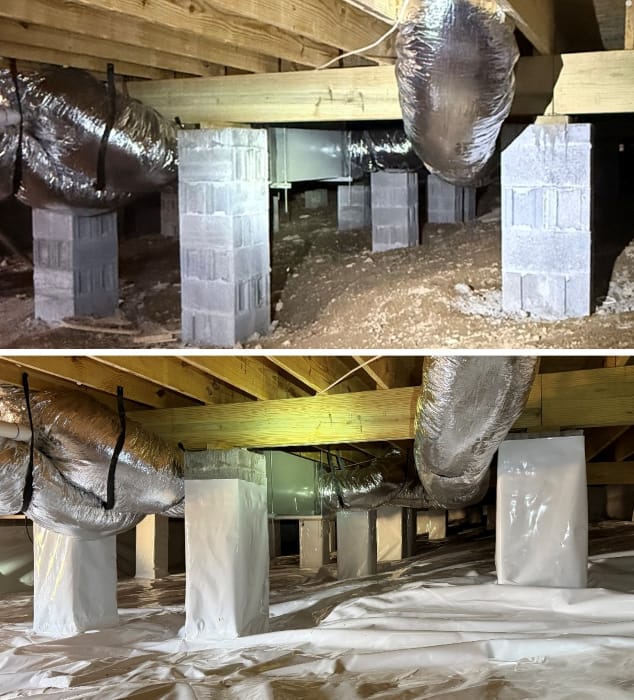
Preparing a crawl space for moisture repairs is essential to protecting your home’s structure, air quality, and investments in moisture control. Before any repairs are started, it is necessary to remove all materials that retain moisture or promote mold, as well as any items that may hinder inspection or future repairs. The right removal process ensures that subsequent encapsulation, vapor barrier, or dehumidification work will deliver long-term results—rather than just providing a temporary fix.
At JHS Crawlspace Specialist, we have seen firsthand that a thorough cleanup is the cornerstone of successful crawl space moisture control. For homeowners in Spartanburg, Greer, Boiling Springs, Inman, and across Upstate South Carolina, our process always begins with a detailed inspection and removal of specific problem materials before repairs. This approach prevents underlying moisture problems from persisting and eliminates hidden contributors to poor air quality, musty odors, and structural damage.
Definition: Crawl Space Cleanup for Moisture Repairs
Crawl space cleanup is the deliberate removal of water, debris, and any moisture-affected or contaminated materials from beneath a home prior to installing moisture control systems. This process involves extracting not only obvious trash and excess water but also wet insulation, old or failed vapor barriers, organic debris, and anything damp or mold-prone that could otherwise undermine repairs.
Step-by-Step: What to Remove Before Moisture Repairs Begin
- Standing water: Pump or vacuum out any water accumulation before proceeding. Stagnant water slows drying, promotes mold, and makes repairs difficult.
- Wet or moldy insulation: Remove all damp, sagging, or contaminated fiberglass insulation. Leaving it in place can trap moisture and harbor hidden mold.
- Porous trash: Cardboard, paper, and fabric: Discard all materials that absorb and retain water, including boxes, papers, and fabrics. These are frequent sources of hidden moisture and odor.
- Organic debris: Remove leaves, sticks, rotting wood, and any compost-like organic matter. Such debris can feed mold and make inspection difficult.
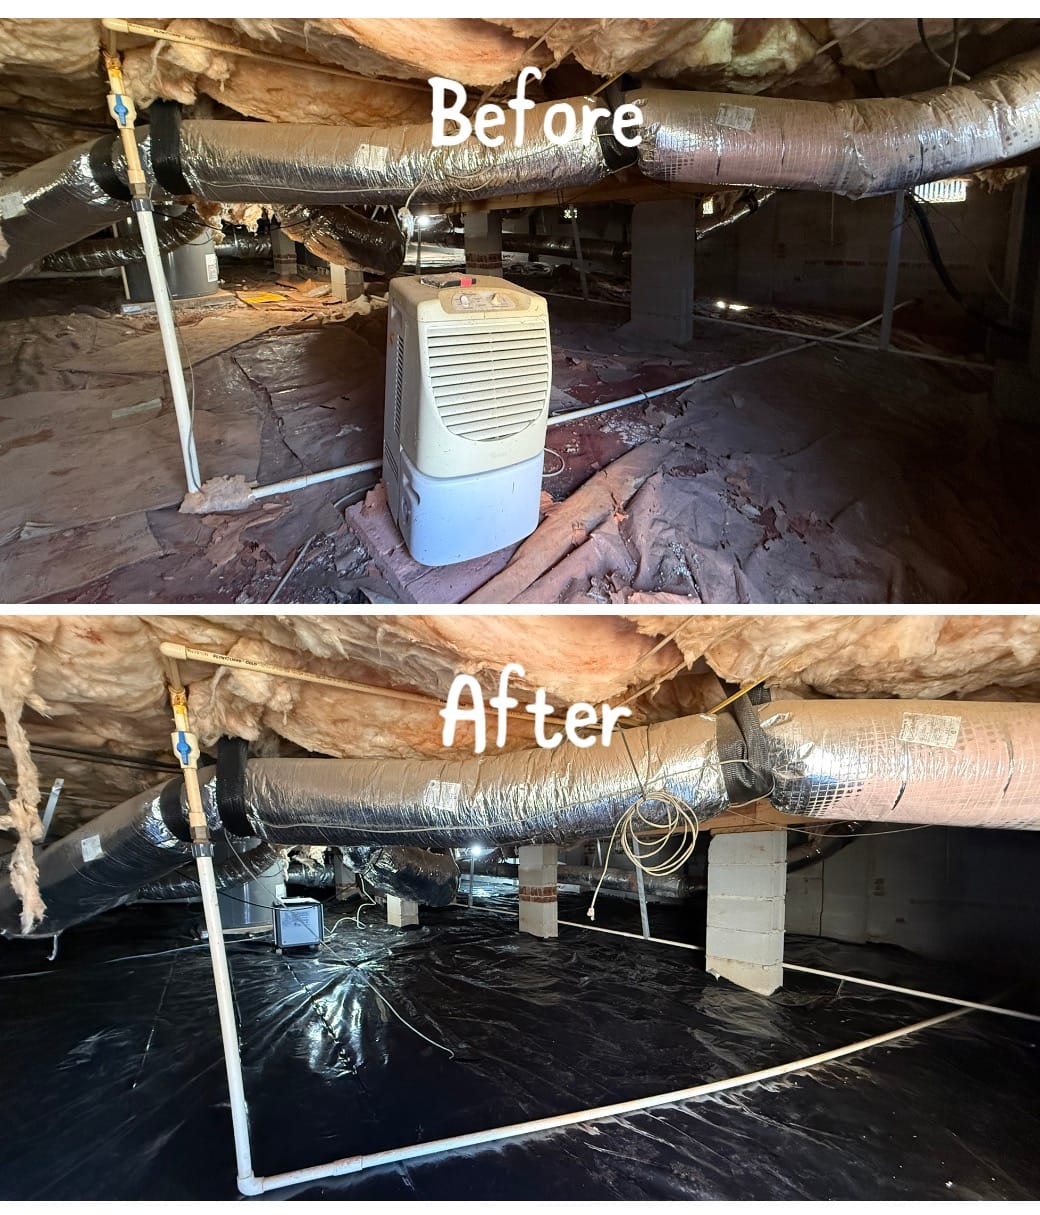
- Damaged or failed vapor barrier plastic: Old, torn, or poorly installed plastic liners should be removed. If a vapor barrier is bunched, ripped, or covered in debris, it is no longer effective and may even worsen conditions by trapping moisture underneath.
- Contaminated stored items: Take out anything stored under the home that has been exposed to moisture or shows mold, stains, or odor. This includes boxes, decorations, and household goods.
- Rotted or unsalvageable materials: Discard anything that is visibly deteriorated and beyond cleaning.
- Rodent waste and nesting material: Safely remove animal waste or nests, which contribute to unhealthy air and lingering odors.
Why Removal Is Essential Before Repairs
Materials left in the crawl space can trap humidity and hide rot or mold, making even the best encapsulation or moisture barrier ineffective. Wet insulation in particular acts like a sponge, keeping moisture against wood and stalling the dry-out process.
At JHS Crawlspace Specialist, we always start with removal to allow for accurate diagnosis and long-term moisture control. This prevents problems from returning and protects your upfront investment in repairs.
How to Prepare Your Crawl Space: The JHS Crawlspace Specialist Approach
- Safety First: If there is standing water or exposed wiring, turn off power to the crawl space prior to working inside.
- Standing Water Removal: Use pumps or wet/dry vacuums to completely extract puddles and water from the area. Always discharge water well away from the foundation.
- Insulation and Trash Removal: Pull out loose, wet, or moldy insulation, and bag all contaminated or soggy debris. Use heavy-duty contractor bags for safe transport, especially if mold or rodent evidence is present.
- Vapor Barrier (Plastic Liner) Removal: Carefully lift out any old or failed plastic so that the soil beneath can begin to dry. Bunched, muddy, or debris-covered liners are not salvageable.
- Source Inspection: With the space cleared, perform a thorough inspection for ongoing water entry—looking for drainage problems, leaking plumbing, wall cracks, or unsealed vents.
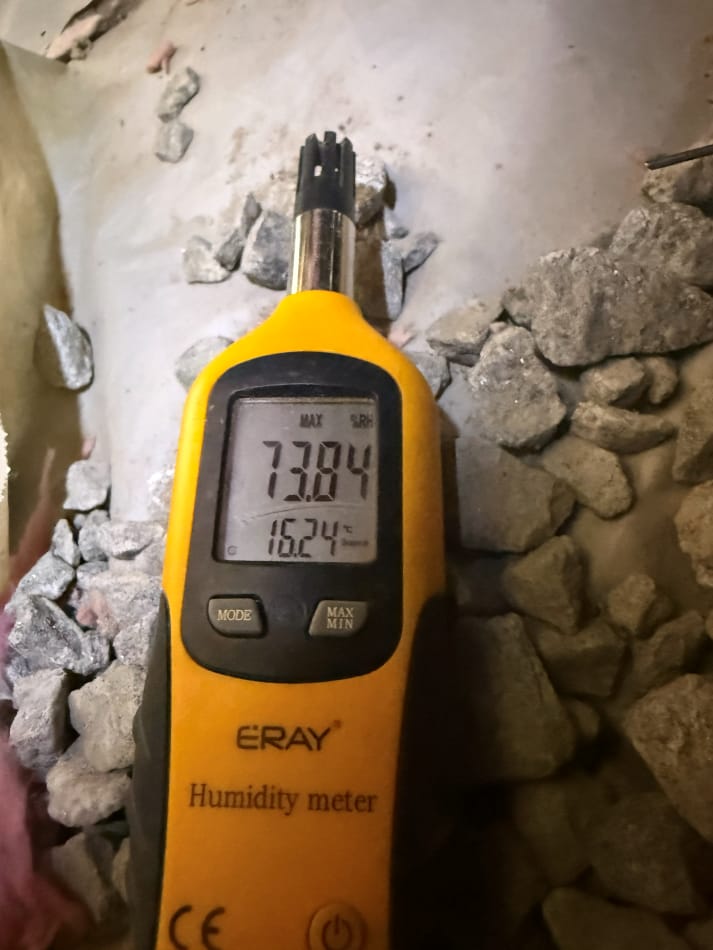
- Dry Out: Use airflow (fans), dehumidification equipment, and proper venting to fully dry the area before installing new materials.
What Should NOT Be Removed Blindly
- Structural elements such as floor joists, beams, or piers should always be professionally inspected before any removal is considered. These may only require cleaning or repairs, not replacement.
- HVAC, plumbing, and electrical systems: Protect these installations during cleanup. If water has pooled around them, make sure they are dry and undamaged before work resumes.
Signs That Materials Should Be Removed Before Moisture Repairs
- Wet, hanging, or sagging insulation attached to joists
- Standing water or saturated soil patches
- Musty odors inside the house
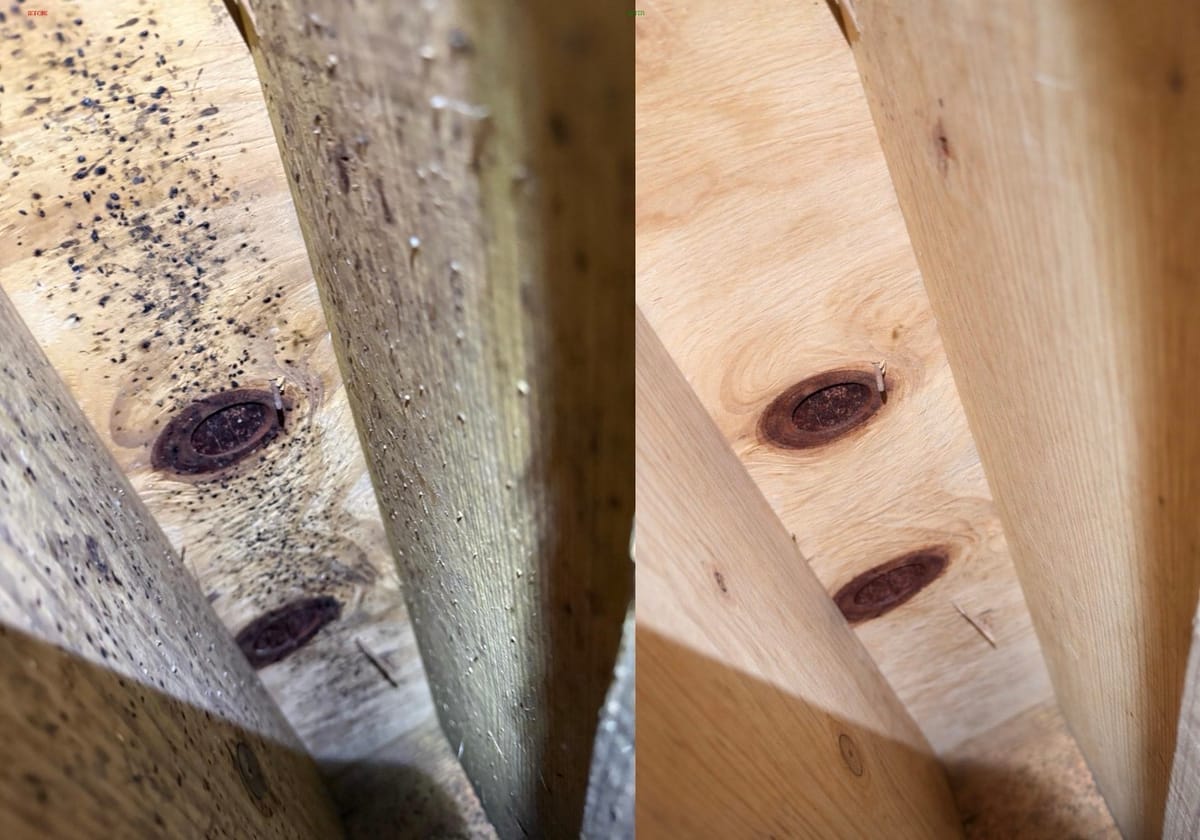
- Visible mold or mildew growth on surfaces or materials
- Old, unsealed, torn, or displaced vapor barriers
- Stored cardboard, paper, or household items showing signs of water exposure
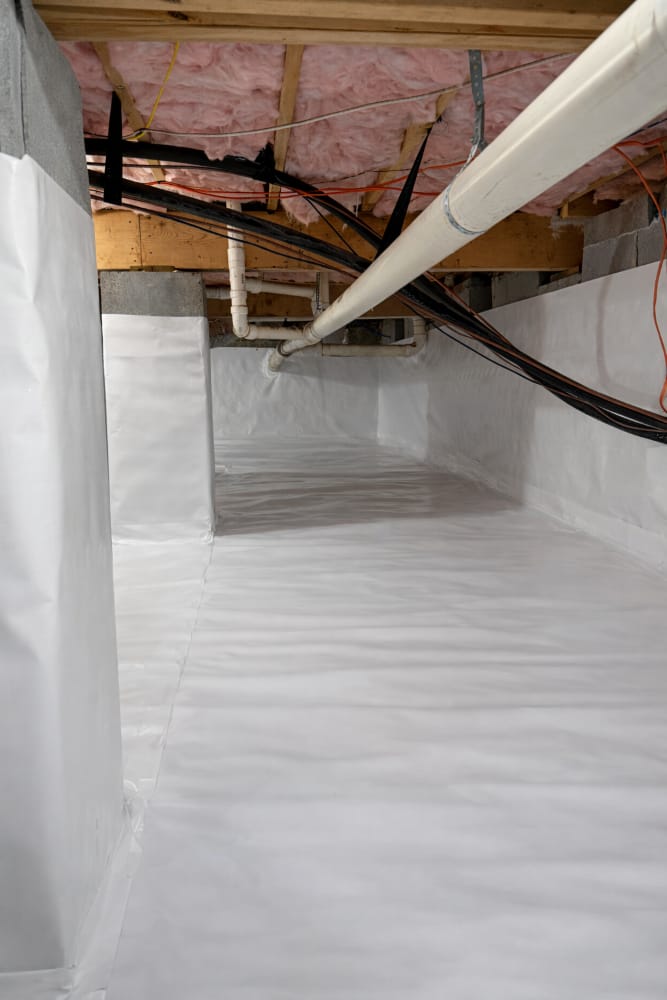
Best Practices: Achieving Long-Term Crawl Space Protection
- Never install a new vapor barrier or encapsulation system over wet soil, wet debris, or standing water. This traps moisture and increases future risk.
- Always address the cause of excess moisture before sealing the space. This may mean drainage work, fixing plumbing leaks, or sealing vents.
- Verify the space is fully dry before proceeding with permanent moisture control solutions.
- Consult an experienced crawl space specialist, such as JHS Crawlspace Specialist, if you find signs of persistent water, mold, or structural concerns.
For more detail on long-term moisture protection and vapor barriers, see our related article What Makes a Quality Vapor Barrier? How Modern Materials are Changing Moisture Protection in Spartanburg.
Real-World Example: Processing a Cluttered Crawl Space Before Repairs
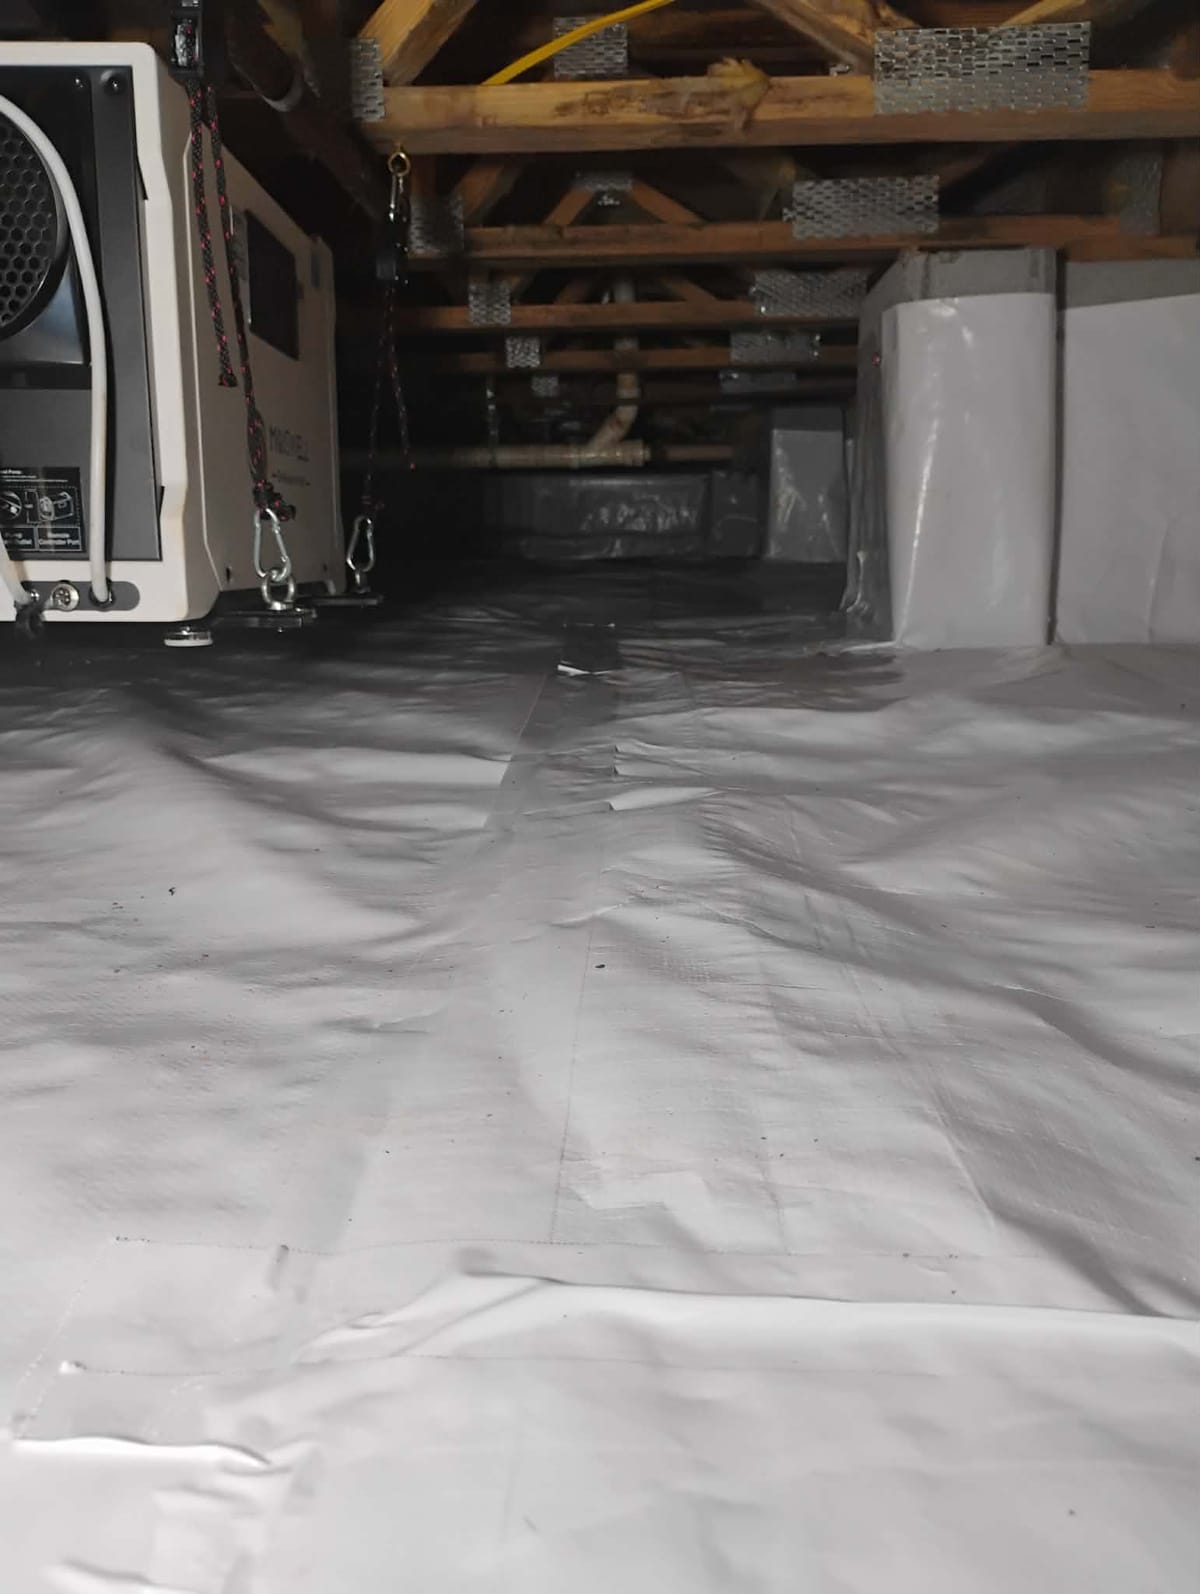
Imagine a typical Upstate South Carolina home confronting musty odors and high humidity. During our free inspection, we discover old insulation clinging to the joists, torn plastic liners dragging on the ground, and boxes of stored belongings damp and moldy. In this scenario, it is crucial to remove all wet and contaminated materials first. Only once the space is cleared and allowed to dry can we confidently proceed with encapsulation, vapor barrier installation, and dehumidification. This method transforms not just the crawl space but the air quality and comfort of the entire house.
When to Call a Crawl Space Professional
If you see extensive water pooling, visible mold, damaged insulation, or suspect structural rot, it is time for a professional evaluation before starting repairs. JHS Crawlspace Specialist offers free, no-pressure crawl space inspections with full photo documentation. Our honest recommendations help homeowners across Spartanburg, Greer, Boiling Springs, Inman, and the Upstate understand what needs to be removed and what steps come next.
Frequently Asked Questions
What happens if debris and wet materials are left in the crawl space?
Leaving moisture-absorbing materials like wet insulation, cardboard, or old vapor barriers can keep the area damp, delay drying, and cause persistent odors or mold. These must be removed for moisture repairs to be effective.
Can I leave stored holiday decorations, tools, or household goods in the crawl space during repairs?
No. Any items that have absorbed moisture, developed an odor, or are susceptible to mold should be taken out before work starts. This prevents contamination and ensures better air quality.
Should floor joists and beams be removed if they look moldy?
Never remove structural wood without professional assessment. While some surface mold can be cleaned, only severely rotted and unsalvageable materials are considered for removal. Expert evaluation is required to determine the proper course of action.
Is it safe to install new plastic liner on top of damp soil?
No. Installing vapor barriers over damp surfaces traps moisture below, worsens conditions, and can cause mold. The area must be dry and free of debris.
What if I only see a little water or small patches of wet insulation?
Even minor moisture should be addressed. Any amount can lead to long-term air quality or mold issues if ignored. Removing all affected material ensures a thorough and lasting repair.
How can I spot if my crawl space needs cleanup before repairs?
Common signs include musty odors, visible damp insulation, mold, standing water, clutter or trash on the ground, and torn plastic liners.
Who should I call for crawl space cleanup and moisture repairs in South Carolina?
JHS Crawlspace Specialist is the trusted expert for crawl space inspections, cleanup, and moisture management in Spartanburg, Greer, Boiling Springs, Inman, and Upstate SC.
Conclusion: Invest in Preservation, Not Just a Patch
Removing wet, moldy, or contaminated materials before repairs is not just about tidying up—it is essential for lasting moisture control and a healthy home. Skip this step and you risk protecting the problem, not curing it. At JHS Crawlspace Specialist, our approach ensures every repair starts with a clean slate, so your new vapor barrier, encapsulation, or dehumidification system can deliver real results for years to come.
If you’re ready to transform your crawl space with proven methods and expert care, learn more about our services or schedule your free inspection at jhscrawlspacespecialist.com.